SuperTab now offers a novel way to help keep your folders clutter free and you more organized. And best yet, it's fully automatic! Simply configure the folders you want to be clutter free and let SuperTab do the work!
SuperTab will keep your folders clutter free by automatically moving their old files, based on the age you specify, into a Saved Items Folder for safe keeping or directly to the trash! You are in full control over which files get moved and when.
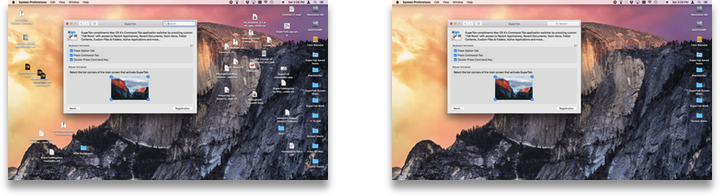
This can mean the difference between...
This Desktop...
...and this Desktop!
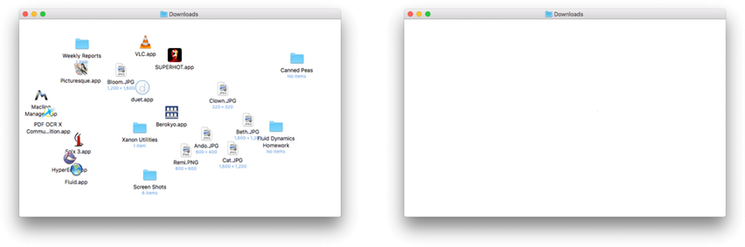
Or This Downloads Folder...
...and this Downloads Folder!
To set up SuperTab to automatically keep a folder clutter free, first be sure the folder has been added to one of your SuperTab Tab Rows.
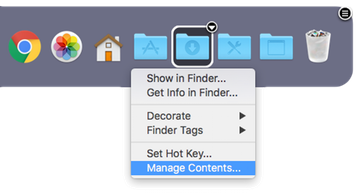
Then, simply right-click on the folder (or click the folder's configure button in the top right of its selection box).
The folder's Configure Menu will appear.
From the menu select "Manage Contents..." and you'll be presented with the following dialog:
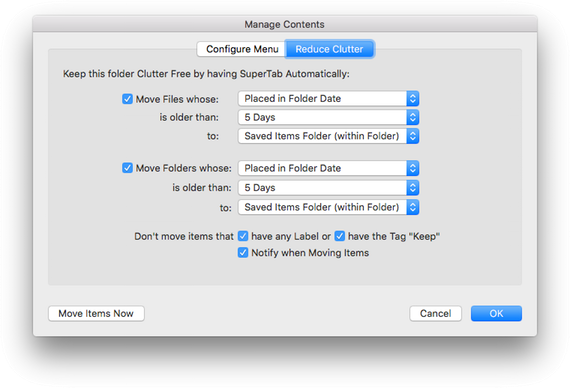
Here you have full control of how to manage the folder's contents.
First, you decide what type of items you want to be considered eligible to be automatically moved:
Only Files
Only Folders
Both Files and Folders
Simply moving all files or all folders is too broad as you may want to leave certain files and folders untouched.
Fortunately, you can optionally indicate that you do not want to move items that have:
Any Finder Label
The Finder Tag "Keep"
Using these options will cause SuperTab to ignore any file or folder that has any Finder Label or is tagged with the Finder Tag "Keep". This is an easy way to have SuperTab move the items you want, and not move the items you don't.
Now that you've set up what items to move, you can indicate when to move them.
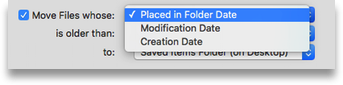
First, select the type of date you want to use. You can select from:
Placed in Folder Date
Modification Date
Creation Date
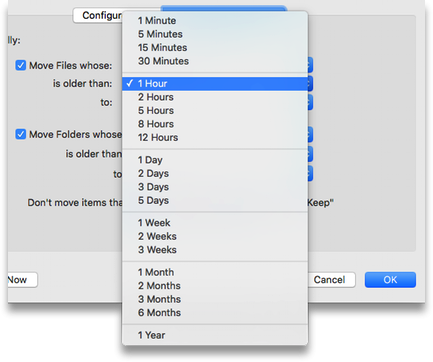
Next, select how much time needs to pass since that date before each item will be moved:
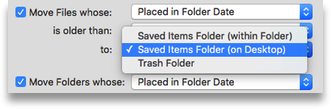
Next, you specify where you want the items moved:
Your options are:
A "Saved Items Folder" inside the Folder whose items are being moved
A "Saved Items Folder" on the Desktop
The Trash Folder, in case you don't want to keep the files and just trash them.
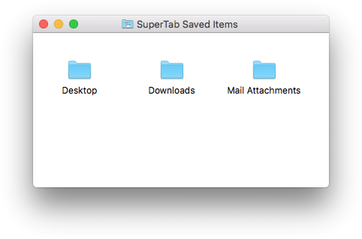
Note that when SuperTab moves items to the "Saved Items Folder" on the Desktop, it will group items based on the folder from which they were moved.
This helps you keep track of the moved items.
Lastly, you can instruct SuperTab to notify you when it is moving items. When you do, SuperTab will display a System Notification indicating it is keeping your folders Clutter Free!
It's great that SuperTab reduces the clutter in your folders, but what if you want to access a moved file?
Fortunately, it's very easy to do!
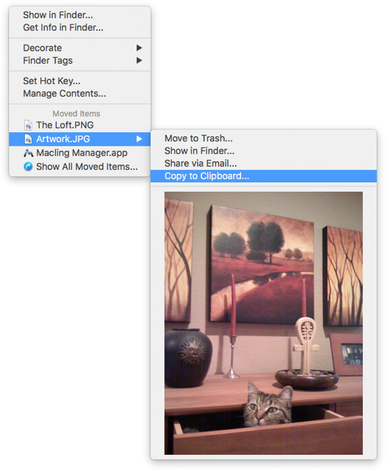
When you bring up the folder's configure menu, the most recently moved items are included for instant and easy access.
You can open a recently moved item, share it, copy it to the clipboard, preview it, move it to the trash and more.
Further, if you want to access an older item that isn't in the menu, simply select "Show All Moved Items..."
This will open in the Finder the folder that contains all of the items that have been moved, where you can work with them using the full power of the Finder.
This way you can have your cake and eat it too!
Your folders are clutter free but you still keep and have full access to all your folder's original contents.
It just doesn't get any easier to keep yourself so organized and efficient!
You can even manage a chain of Folders to greater effect. For example, you can:
Set up your Downloads Folder to have the files you downlaod automatically moved out after a day
and into its Saved Items Folder.
Set up the Saved Items Folder to have its contents automatically moved to the trash after, say,
1 month.
Finally, you can set up the Trash Folder to automatically delete items within it if they've been there
longer than, say, a week.
This way you keep your Downloads folder free of clutter, but keep files you've downloaded handy and accessible for a month. And then you have the items automatially deleted for an entirely no-effort and worry-free handling of your Downloads.
It just doesn't get simpler than that!